Enabling Access Control
Access control is enabled via the Engine screen in Omnipeek.
To enable Access Control:
1. Use Omnipeek to view the Home page.
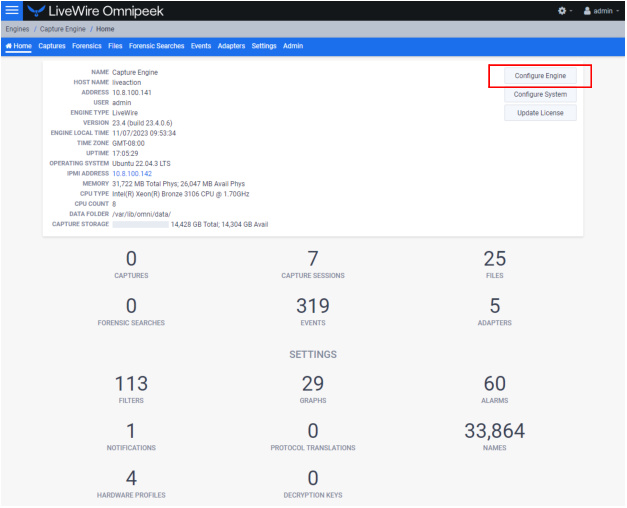
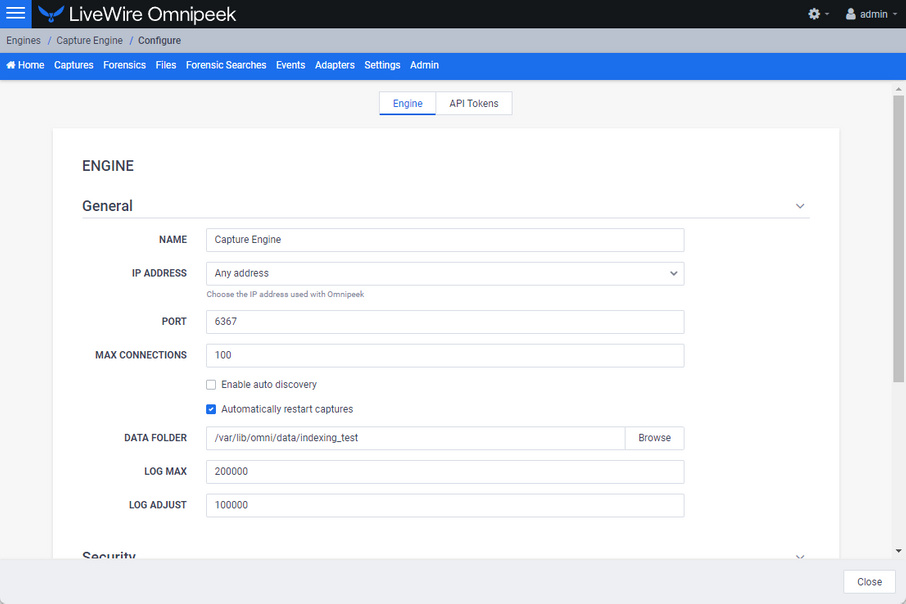
2. Click . The Engine page appears.
3. Scroll down to the Access Control settings.
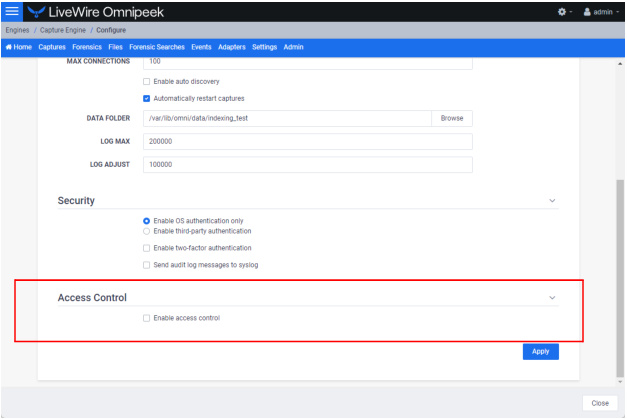
4. Select Enable access control to expand the access control settings.
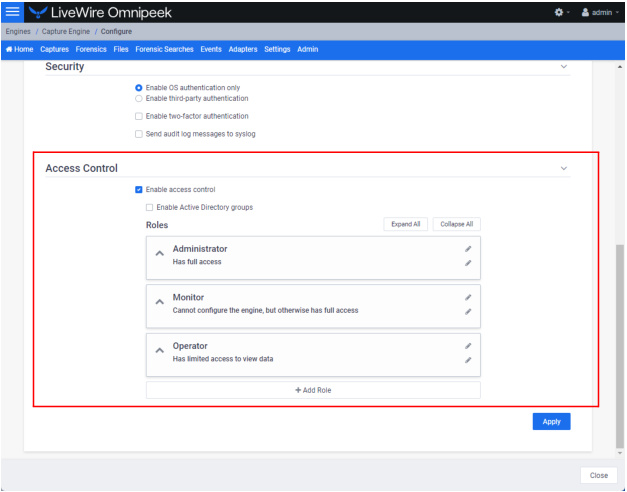
◦ Enable access control: Select this setting to enable access control.
◦ Enable Active Directory groups: Select this option to enable Active Directory groups.
NOTE: When enabling Active Directory groups, Third-party authentication must be enabled and include at least one Active Directory entry that is active with a non-empty Base Domain Name, Application Username, and Application Password. See Enabling Third-Party Authentication.
◦ Expand All: Click to expand the settings displayed for each of the roles.
◦ Collapse All: Click to collapse the settings displayed for each of the roles.
◦ Roles: Displays the set of roles for LiveWire.
◦ Administrator: The default Administrator role is configured to provide full access to LiveWire to users or groups that have been assigned to this role.
◦ Monitor: The default Monitor role is configured so that users or groups assigned to this role cannot configure LiveWire, but otherwise have full access to LiveWire.
◦ Operator: The default Operator role is configured so that users assigned to this role have limited access to view data.
◦ Add Role: Click to add new role to the list of roles. You will need to provide a unique name and for the role.
◦ Apply: Click to apply all engine settings to LiveWire.